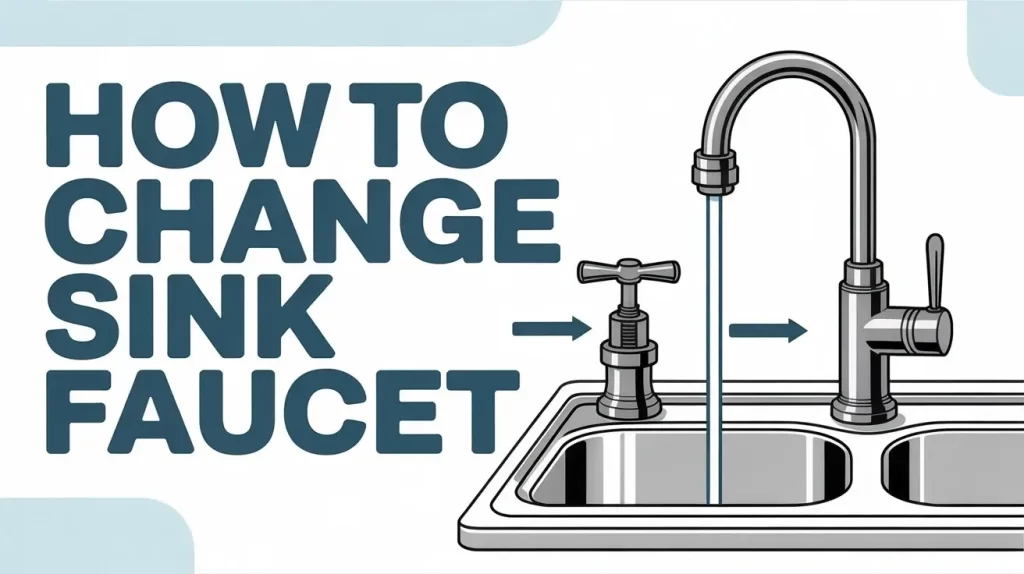
Changing your sink faucet might sound like a job for a plumber, but with a little patience, the right tools, and guidance, you can do it yourself and even enjoy the process. As a home décor enthusiast who’s handled countless DIY faucet replacement projects, I’ve learned that updating your faucet isn’t just about fixing a leak; it’s about giving your kitchen or bathroom a fresh, modern touch.
Whether you want to replace a bathroom sink faucet for a style upgrade or just need to stop that constant drip, this guide will show you how to change sink faucet step-by-step safely, confidently, and like a pro.
Content
Before You Begin: Tools and Materials You’ll Need
Every successful DIY project starts with preparation. Here’s a quick checklist of the tools needed to change a sink faucet before you start unscrewing anything:
- Adjustable wrench or basin wrench
- Plumber’s tape (Teflon tape)
- Bucket or towel (to catch excess water)
- Silicone sealant (optional)
- Flashlight
- New faucet and supply lines
Pro Tip: Always turn off the water supply before starting. It sounds obvious, but trust me many DIYers (including my younger self!) learn this lesson the hard way.
Shut Off the Water Supply
Let’s start your DIY faucet replacement the right way.
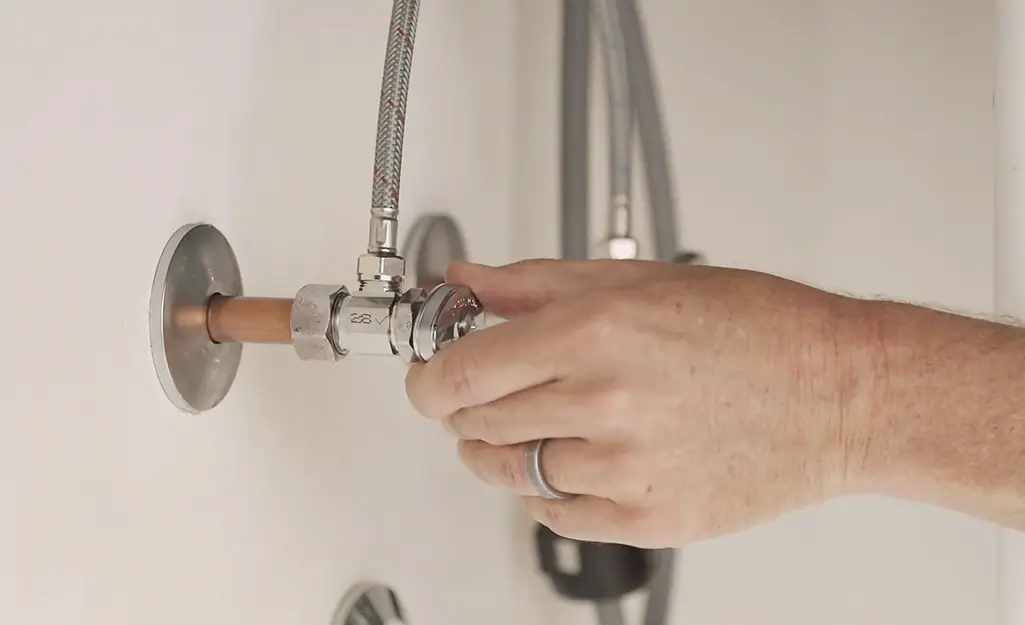
Locate the shutoff valves beneath your sink one for hot water and one for cold. Turn both clockwise to stop the flow, then open your faucet to release any leftover pressure. This quick plumbing repair step helps prevent leaks and messy surprises later on.
If the valves are stuck or rusted, wrap them with a towel or use pliers for better grip, but be gentle — forcing them can cause damage.
How to Remove an Old Sink Faucet
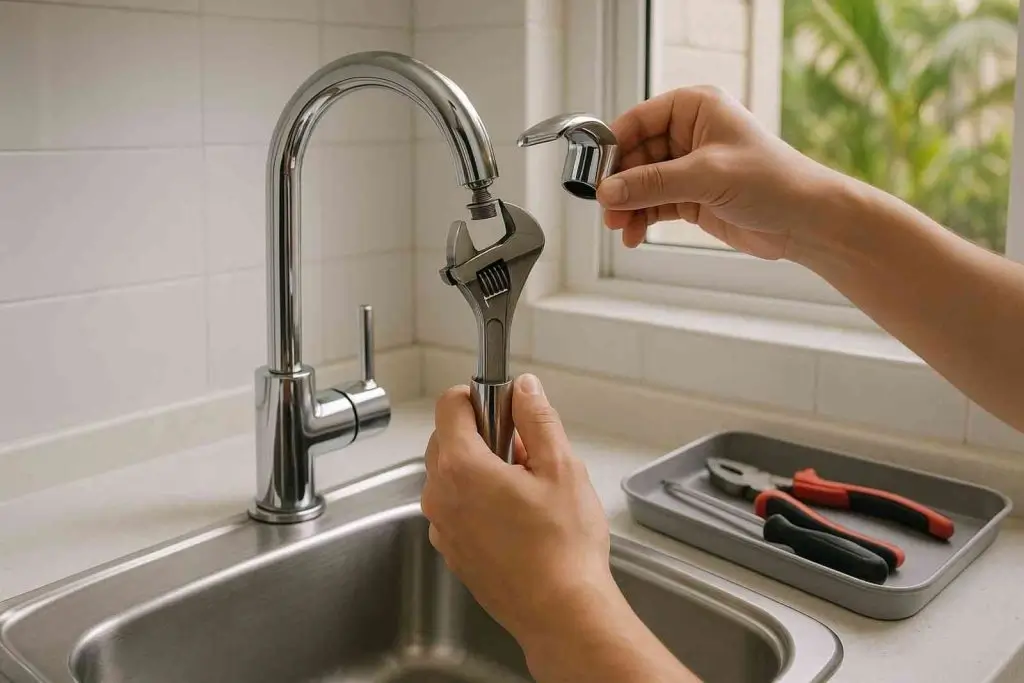
Now comes the slightly tricky part: how to remove an old sink faucet and install a new one.
- Place a bucket under the sink to catch any drips.
- Disconnect the water supply lines using your wrench.
- Unscrew the mounting nuts that hold the faucet in place (a basin wrench helps if space is tight).
- Once loosened, lift the old faucet straight out.
Taking a minute to clean the sink surface old grime, rust, or sealant can prevent the new faucet from sitting evenly.
Prepare and Install the New Faucet
This is where your project starts to take shape. Insert your new faucet through the mounting holes in the sink. Use the included gasket or plumber’s putty to ensure a watertight seal.
Tighten the mounting nuts from below hand-tight first, then secure gently with your wrench. Avoid over-tightening (one of the common mistakes when changing a faucet) because it can crack the fixture or strip threads.
Connect your water supply lines make sure hot and cold lines are attached to the correct valves.
Test for Leaks and Adjust
Once everything is connected, slowly turn the water back on. Check under the sink for drips or leaks.
If you spot any, tighten connections slightly or reapply plumber’s tape. Turn on the faucet and let it run for a minute to flush out debris.
Congratulations, you’ve just learned how to change sink faucet successfully!
Case Study: A Real-Life DIY Faucet Success Story
Let me share a quick story.
Last summer, a reader named Sarah from Austin messaged me after reading one of my DIY posts. She wanted to replace her bathroom sink faucet to match her newly painted vanity but was nervous about doing it herself.
I walked her through the same steps we’ve just covered and she completed the installation in under two hours. She even used leftover brushed-nickel hardware from her kitchen makeover to tie the whole look together.
Sarah’s before-and-after photos were stunning. A simple faucet swap gave her bathroom a luxury spa vibe without spending hundreds on professional plumbing.
That’s the beauty of home DIY projects when you know how to change sink faucet the right way, small upgrades can transform your space completely.
Common Mistakes When Changing a Faucet
Even seasoned DIYers slip up sometimes. Here are a few common mistakes when changing a faucet and how to avoid them:
- Forgetting to shut off water — results in unexpected “indoor fountains.”
- Over-tightening nuts — can crack or warp your sink or faucet.
- Skipping the cleaning step — prevents a proper seal and leads to leaks.
- Mixing up hot and cold lines — always check before connecting.
- Using worn-out supply hoses — old lines can burst; replace them for peace of mind.
Avoiding these pitfalls makes your DIY faucet replacement smooth and stress-free.
Extra Tips from a Home Décor Expert
Here are a few design and maintenance ideas to make your faucet replacement even more rewarding:
- Match finishes: Choose a faucet that complements your cabinet handles and light fixtures.
- Consider functionality: A pull-down sprayer or touchless faucet can make daily routines easier.
- Add a backsplash accent: Use this opportunity to refresh the area behind your sink for a cohesive look.
- Go green: Select a water-efficient faucet it saves on bills and helps the planet.
Remember, every small upgrade like this contributes to your home’s overall aesthetic and value.
Conclusion:
Learning how to change sink faucet is one of the most satisfying and cost-effective home upgrades you can tackle during your bathroom remodeling journey. It not only saves money but also boosts your confidence to take on even bigger DIY projects.
Whether you’re planning to replace a bathroom sink faucet for a modern refresh or fix an old leaky one, remember preparation, patience, and precision are key.
So roll up your sleeves, grab your wrench, and make your sink shine again because the right faucet doesn’t just change your sink, it transforms the entire vibe of your bathroom.
FAQs About Changing a Sink Faucet:
Can you change a sink faucet yourself?
Yes! With basic tools and this step-by-step guide, you can easily learn how to change sink faucet without hiring a plumber.
How do I get my faucet to stop dripping?
Tighten loose parts, replace worn washers, or learn how to change sink faucet completely if the leak continues.
How to remove an old sink faucet?
Turn off water, disconnect supply lines, and loosen mounting nuts that’s how to remove an old sink faucet safely.
Do I need to shut off water to change a sink faucet?
Absolutely! Always shut off the water supply before starting to change your sink faucet to avoid leaks or mess.

Alexis is a dedicated home improvement blog author who has a passion for writing. She enjoys blogging about all sorts of topics, from interior design to landscaping and more! She loves the outdoors and spending time in nature with her family. She also likes to bake in her free time.

