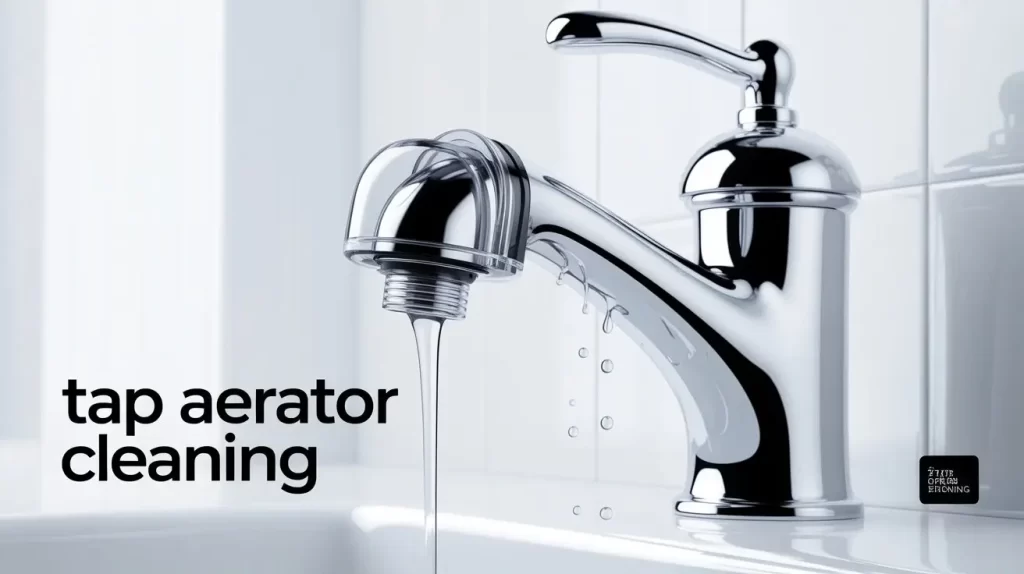
A faucet aerator may seem like a small part of your kitchen or bathroom, but it plays a big role. Over time, mineral deposits, dirt, and debris can clog the aerator. This reduces water flow, creates uneven sprays, and even increases water bills. Regular tap aerator cleaning is an easy way to keep your faucets working efficiently. With the right methods, you can restore water pressure, improve hygiene, and extend the life of your tap.

Content
Why Tap Aerator Cleaning Matters
Tap aerators work like small filters, mixing air with water to deliver a steady, splash-free stream. When they are not cleaned regularly, limescale, rust, and sediment can accumulate, leading to reduced water pressure and even expensive plumbing problems. According to the Environmental Protection Agency (EPA), proper faucet maintenance, including routine aerator cleaning, can save an average household up to 700 gallons of water per year. For long-lasting results, homeowners often rely on the best home cleaning service to keep fixtures running efficiently.
Signs Your Tap Aerator Needs Cleaning
- Reduced water flow or weak stream
- Uneven spray pattern from the faucet
- Noticeable mineral buildup on the aerator
- Strange noises when turning on the tap
- Rust or discoloration around the faucet head
If you notice these issues, it’s time to perform a thorough tap aerator cleaning.
Tools and Materials for Tap Aerator Cleaning
You don’t need special equipment for this task. Most items are likely already at home:
- Adjustable wrench or pliers
- Soft cloth or rubber grip pad
- Bowl of warm water
- Vinegar (white distilled works best)
- Old toothbrush or small scrub brush
- Paperclip or pin for unclogging holes
Step-by-Step Guide to Tap Aerator Cleaning

1. Remove the Aerator
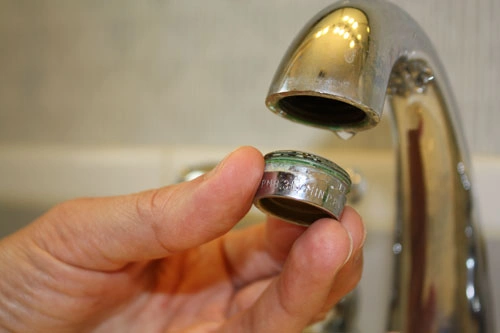
Unscrew the aerator from the faucet spout. If it’s too tight, use a wrench wrapped with a cloth to avoid scratching the metal.
2. Disassemble the Parts
Aerators typically have multiple layers: a screen, a housing, and sometimes a rubber washer. Keep the parts in order so you can reassemble them correctly.
3. Soak in Vinegar Solution
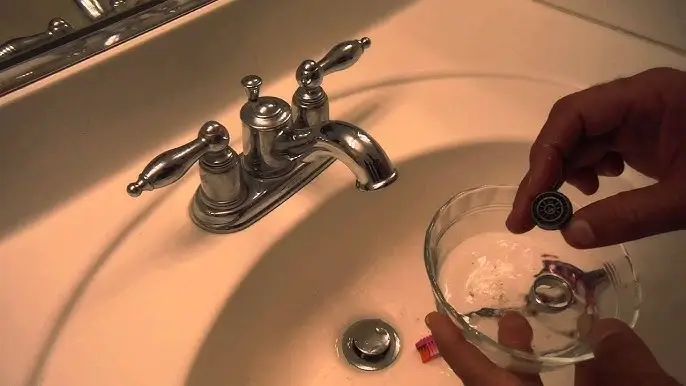
Place the aerator parts in a bowl of vinegar for at least 30 minutes. Vinegar is a natural descaler that helps dissolve limescale and mineral buildup.
4. Scrub and Rinse
Use a toothbrush to gently scrub away loosened deposits. Pay attention to the screen, where clogs often form. Rinse under running water to clear debris.
5. Unclog Tiny Holes
If some holes are still blocked, use a paperclip or pin to carefully remove the debris. Avoid scratching the metal.
6. Reassemble and Reinstall
Put the aerator parts back together and screw the unit onto the faucet. Turn on the tap to check water flow. You should notice immediate improvement.
Preventing Future Clogs in Your Aerator
- Clean your tap aerator every three to six months.
- Use a water softener in areas with hard water.
- Rinse faucets after using harsh cleaning products.
- Avoid over-tightening the aerator during installation.
Regular maintenance ensures longer faucet life and consistent water efficiency.
Alternative Methods for Tap Aerator Cleaning

Baking Soda Paste
Mix baking soda with water to form a paste. Apply it to stubborn stains and scrub gently with a brush.
Lemon Juice Soak
Lemon juice works like vinegar to dissolve limescale while leaving a fresh scent. Soak the aerator overnight for best results.
Commercial Cleaners
For heavy buildup, non-abrasive commercial descaling solutions can be used. Always follow safety instructions to avoid damage.
Eco-Friendly Benefits of Cleaning Aerators
Keeping your faucet aerator clean doesn’t just improve water flow it also supports sustainability. The U.S. The Department of Energy notes that efficient faucet maintenance reduces energy used for heating water, lowering both your carbon footprint and utility bills.
Conclusion:
Tap aerator cleaning is a simple yet powerful way to maintain your faucets. It saves water, reduces bills, and keeps your home hygienic. With just a few household supplies and a little effort, you can prevent clogs and enjoy smooth water flow year-round. Regular tap aerator cleaning is one of the easiest habits to adopt for a cleaner, greener, and more efficient home.
FAQs About Tap Aerator Cleaning:
How do I clean the buildup on my faucet aerator?
Unscrew the aerator, soak in vinegar for 30 minutes, scrub gently with a toothbrush, rinse well, and reattach for smooth water flow.
How to clean a tap aerator?
Remove the aerator, soak in vinegar, scrub away debris, rinse, then reinstall. This simple method restores water pressure and a steady stream.
Do all taps have removable aerators?
Most modern faucets have removable aerators, but some models, especially designer or older taps, may not include one.
How long should I soak an aerator in vinegar?
Soak the aerator in white vinegar for 30–60 minutes. For heavy limescale, leave it overnight to fully dissolve mineral buildup.

Alexis is a dedicated home improvement blog author who has a passion for writing. She enjoys blogging about all sorts of topics, from interior design to landscaping and more! She loves the outdoors and spending time in nature with her family. She also likes to bake in her free time.


